

step-by-step—on my mr hyde, including how I tackled the chaotic beauty of the acrylic drip technique
There is something incredibly liberating about working on a massive canvas. It demands your whole body to get involved in the movement, lets you experiment with bold textures, and gives you the space to let the paint do what it does best: flow.
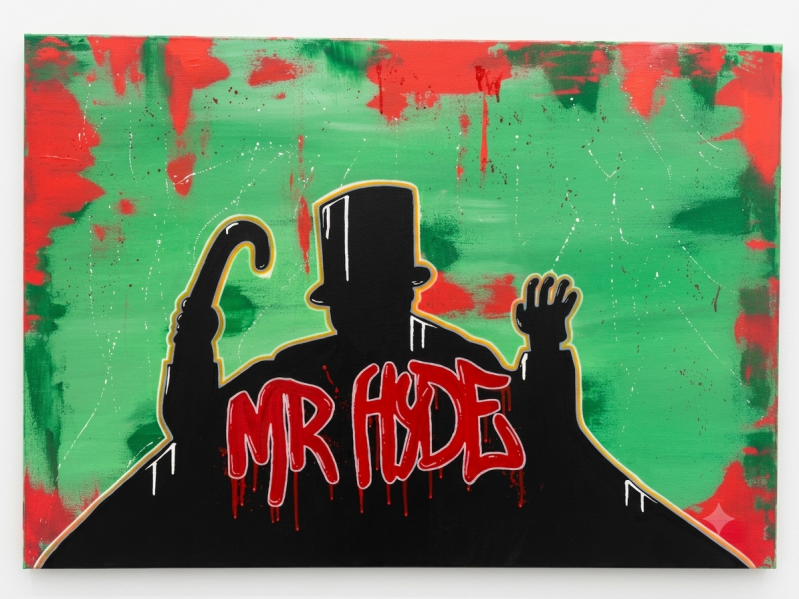
My latest piece, titled "Mr. Hyde," blends graphic pop art elements, bold contrast, and a gritty, dripping background to capture that classic Jekyll-and-Hyde tension.
Here is exactly how I brought this large-scale painting to life, step-by-step—including how I tackled the chaotic beauty of the acrylic drip technique.
The Concept & Palette
For a character like Mr. Hyde, I wanted a background that felt chaotic, toxic, and alive. I chose a vivid green base to hint at chemical elixirs and classic horror vibes, contrasted sharply with a striking, aggressive red.
To anchor all that background chaos, I decided on a clean, graphic black silhouette of the classic top-hatted, cane-wielding figure, topped with bold, graffiti-style lettering that physically drips into the foreground.
Step 1: Laying Down the Textured Background
When working on a large canvas, a flat background can feel boring. I started by layering different shades of green using wide, sweeping brushstrokes to create a textured, atmospheric haze.
While the green layer was drying, I brought in the red accents around the edges. Instead of blending them smoothly, I wanted them to feel raw and fragmented, cutting into the green space like a shadow creeping in.
Step 2: Mastering the Drip & Splatter Technique
This is where things got messy—and incredibly fun. To get those perfect vertical runs and chaotic splatters across the canvas, you have to find the right balance between control and letting go.
How I Did It:
-
Thinning the Paint: Standard acrylics out of the tube are too thick to run naturally. I mixed my red and white acrylic paints with water and a fluid gloss medium until it reached a creamy consistency.
-
The Gravitational Pull: I tilted the canvas completely upright. Using a heavily loaded brush and a squeeze bottle, I applied the thinned red paint heavily at the top edge, letting gravity pull it down across the green background.
-
The Splatter: To add an extra layer of unpredictable energy, I flicked a thinned white acrylic mix across the centre of the canvas using a stiff-bristled brush, creating a starry, chaotic mist.
Step 3: Blocking the Silhouette
Once the chaotic background was dry, it was time to bring in order.
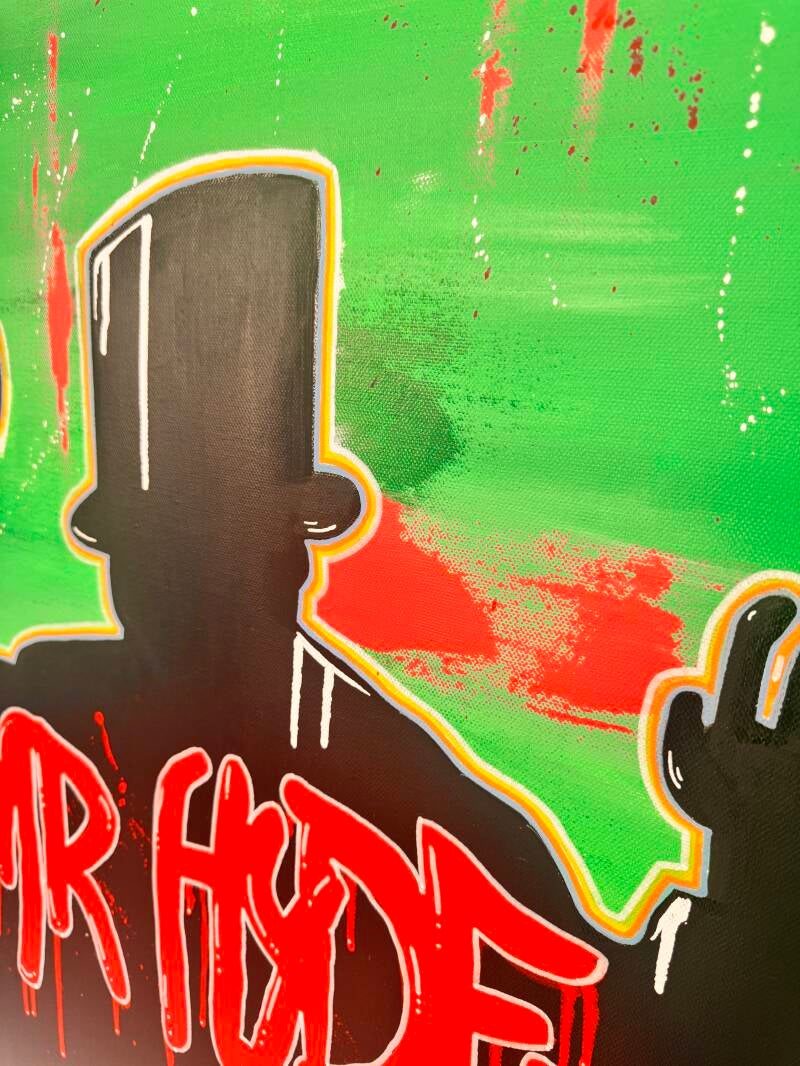
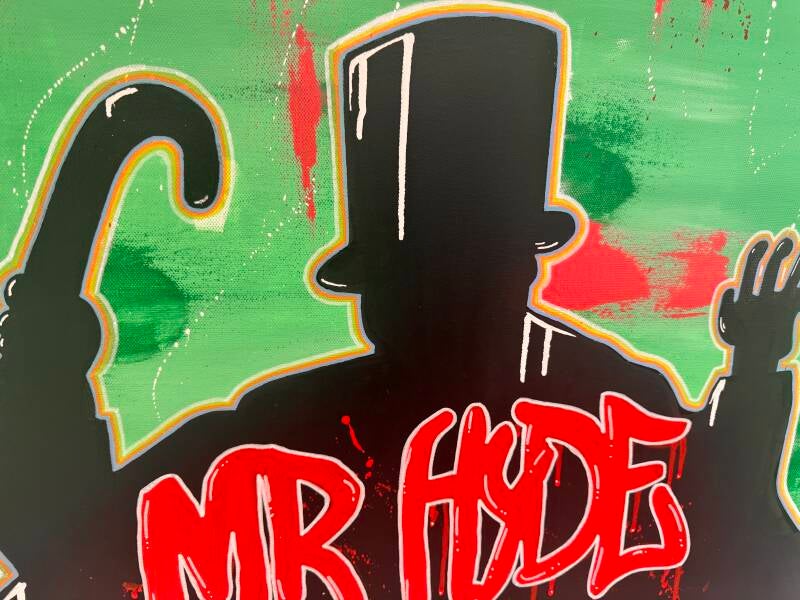
I sketched out the massive silhouette of Mr. Hyde, complete with his top hat, raised claw hand, and cane. Using a deep, matte black acrylic, I blocked out the entire lower section. Because the background had so much movement, the flat, solid black instantly created a striking, high-contrast focal point that pops right off the canvas.
To make the silhouette crisp, I went back in with fine liner brushes to trace a clean, multi-layered outline using subtle yellow and white highlights.
Step 4: The Graffiti Typography
The final element was the centerpiece: "MR. HYDE" spelled out in bold, stylized street-art lettering.
-
The Base: I blocked the letters out in white first to ensure the red would look vibrant against the solid black silhouette.
-
The Red Fill: I layered a vivid red over the letters.
-
The Final Drips: To tie the lettering back into the chaotic theme of the background, I used a fine-tip applicator to draw long, controlled drips bleeding down from the bottom of each letter.
The Finished Piece
What I love most about the final painting is the juxtaposition of styles. You have the wild, unpredictable splatters and drips of abstract expressionism in the back, locked down by the ultra-clean lines of a comic-book-style graphic silhouette in the front.
💡 Quick Tips if You Want to Try This at Home:
-
Protect your space! When doing gravity drips on a large canvas, paint will hit the floor. Lay down plenty of plastic drop cloths.
-
Be patient with drying times. Letting the background completely dry before painting your silhouette is crucial, otherwise, your black paint will bleed into the wet background.
What do you think of the final piece? Have you ever experimented with gravity drips in your art? Let me know in the comments below!
Add comment
Comments